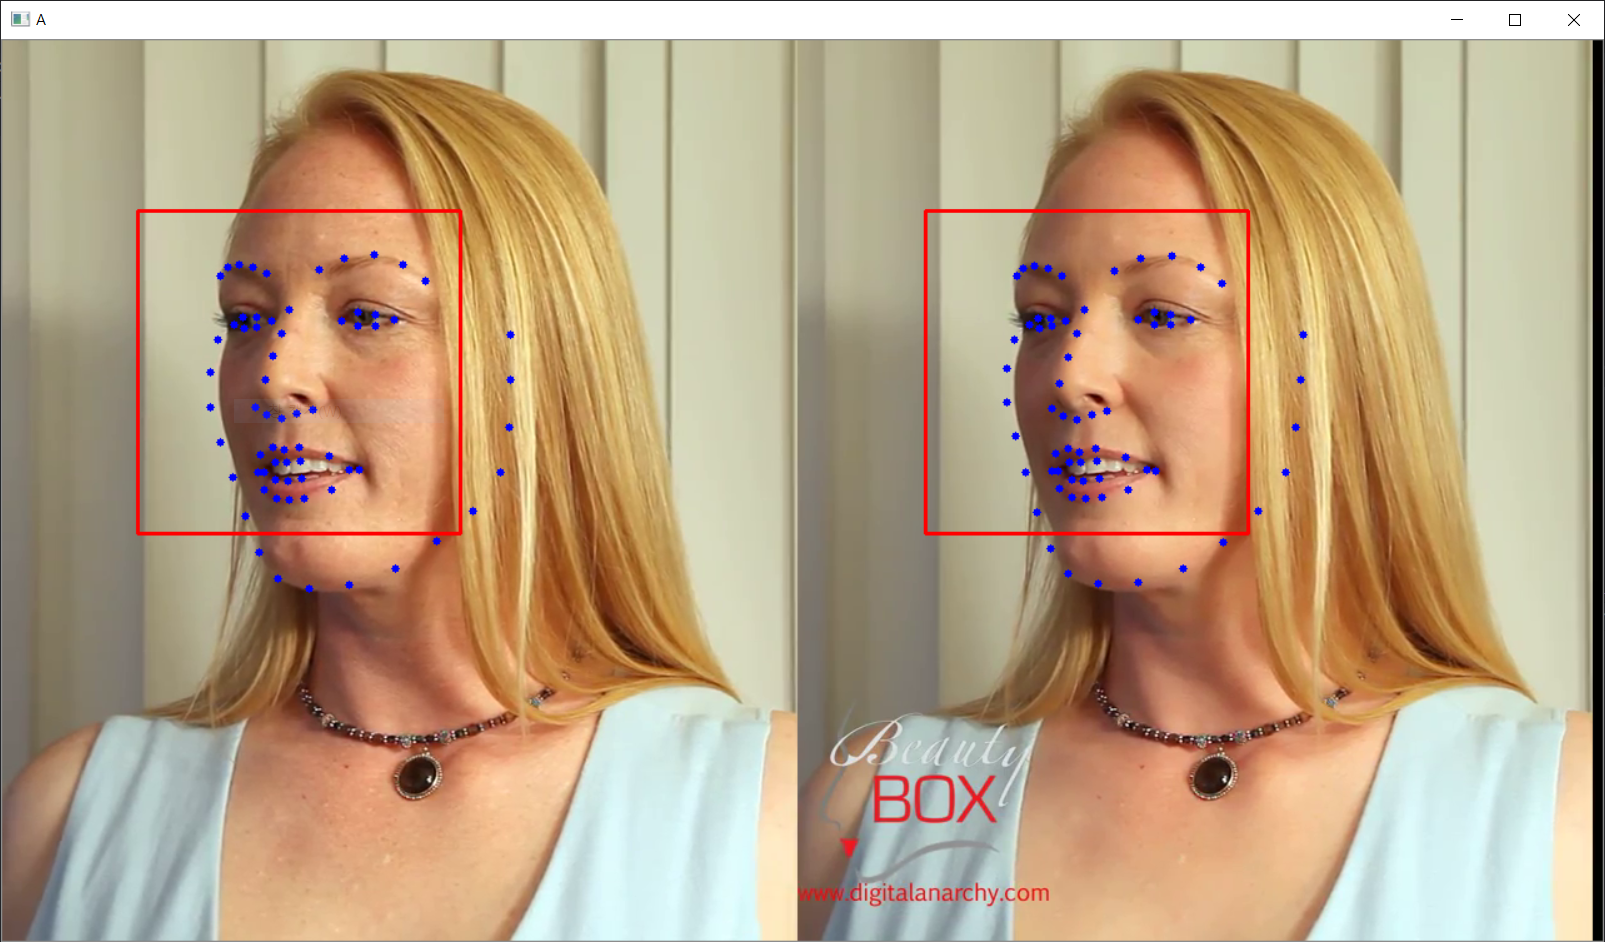
dlib과 opencv를 이용하여 얼굴에 랜드마크를 찍어보자
먼저 opencv와 dlib을 임포트한다.
import cv2, dlib
dlib에서 기본적으로 제공하는 face_object_detector 객체를 생성한다.
그리고 얼굴 랜드마크를 찍기 위해 shape_predictor_68_face_landmarks.dat를 불러온다.
detector = dlib.get_frontal_face_detector()
sp = dlib.shape_predictor('shape_predictor_68_face_landmarks.dat')
동영상을 불러온 뒤에 detector로 얼굴좌표를 가져온다.
cam = cv2.VideoCapture('video.mp4')

while True:
    img, frame = cam.read()
    face = detector(frame)
detector는 얼굴의 좌측상단, 좌측상단, 우측상단, 우측상단을 반환해준다.
detector에서 제공해주는 좌표로 얼굴위에 사각형을 그린다.
   for f in face:
          #dlib으로 얼굴 검출
          cv2.rectangle(frame, (f.left(), f.top()), (f.right(), f.bottom()), (0,0,255), 2)
그리고 얼굴에서 특징점 68개를 찾는다.
        land = sp(frame, f)
        land_list = []
land에 저장된 특징점 좌표들을 land_list에 넣고 circle를 이용하여 좌표에 점을 찍는다.
        for l in land.parts():
            land_list.append([l.x, l.y])
            cv2.circle(frame, (l.x, l.y), 3, (255,0,0), -1)

다음엔 이 특징점들을 넘파이 배열로 저장해보자
전체코드
import dlib, cv2

detector = dlib.get_frontal_face_detector()
sp = dlib.shape_predictor('shape_predictor_68_face_landmarks.dat')

cam = cv2.VideoCapture('video.mp4')

while True:
    img, frame = cam.read()
    face = detector(frame)

    for f in face:
        #dlib으로 얼굴 검출
        cv2.rectangle(frame, (f.left(), f.top()), (f.right(), f.bottom()), (0,0,255), 2)

        land = sp(frame, f)
        land_list = []
        print(land)

        for l in land.parts():
            land_list.append([l.x, l.y])
            cv2.circle(frame, (l.x, l.y), 3, (255,0,0), -1)

    cv2.imshow('A',frame)

    if cv2.waitKey(1)=='q':
        break

cam.release()
cv2.destroyAllWindows()
'Emotion > 인공지능 기초' 카테고리의 다른 글
| mediapipe 관련 1 (0) | 2021.03.20 |
|---|---|
| Opencv 얼굴 인식(영상) (0) | 2020.11.27 |
| Opencv 얼굴 인식(사진) (0) | 2020.11.27 |
| 앙상블 학습법(Ensemble Learning) (0) | 2020.09.29 |
| 로지스틱 회귀(Logistic Regression) (0) | 2020.09.29 |
